
Girlinair
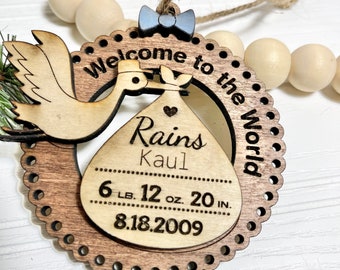
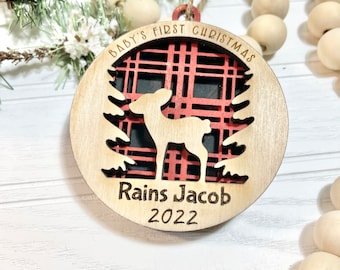
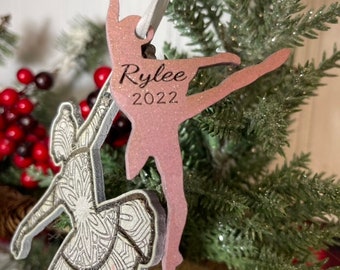
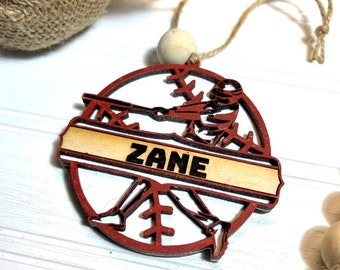
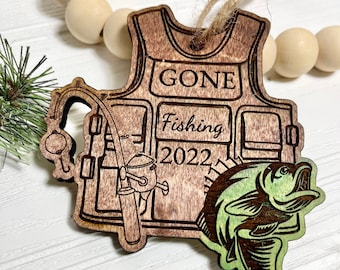
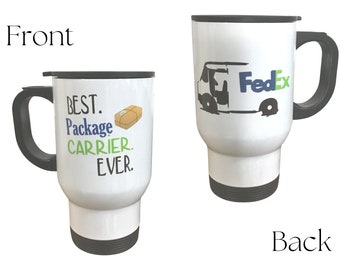
Wedding Decor & Guestbooks- Christmas Ornaments & Gifts
Znakomity sklep z prezentami.
Kupujący zamówili prezenty w tym sklepie i wystawili o nich opinie z 5 gwiazdkami!
Ogłoszenie
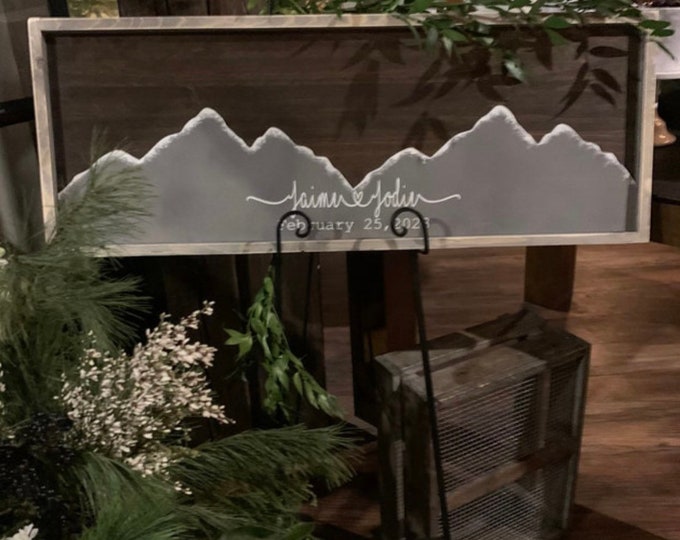
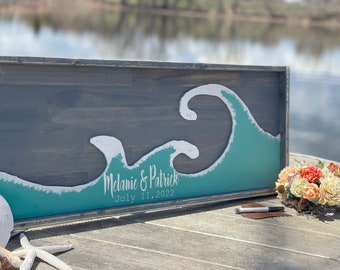
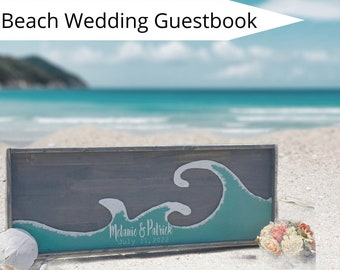
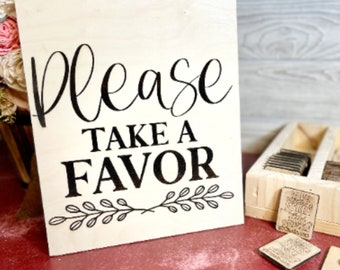
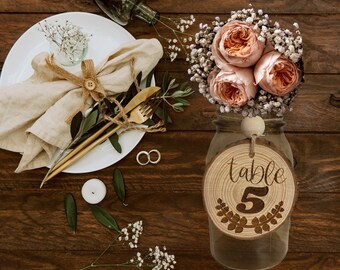
Welcome to our handmade Gift Shop!
We are so grateful for your support and business. We always offer FREE SHIPPING and great customer service.
Thank you for stopping by
Polecane produkty
Produkty

Wszystkie produkty


Opinie
-

Bonny w dniu 6 maj 2024
5 na 5 gwiazdekReceived the item quickly and as described. I can't wait for my guests to sign it on our wedding day!
Ładowanie -
tyedy331 w dniu 29 kwi 2024
5 na 5 gwiazdekExcited to use for my wedding and use as my guestbook. The seller was very responsive to my questions.
Ładowanie -

Glynis w dniu 24 mar 2024
5 na 5 gwiazdekBeautiful sign that we’re excited to have our guests sign at our wedding!
Ładowanie -
Amanda w dniu 23 mar 2024
5 na 5 gwiazdekThank you so much for making this we are excited to use at our wedding
Ładowanie -
Sign in with Apple user w dniu 10 maj 2024
5 na 5 gwiazdekI am absolutely in LOVE with how it turned out! Cant wait to have everyone sign it!
Ładowanie -
-

Gabrielle w dniu 23 kwi 2024
5 na 5 gwiazdekThe sign showed up exactly how the item is shown and is great quality.
Ładowanie -
Jazmyn w dniu 19 kwi 2024
5 na 5 gwiazdekIt is so beautiful!! I am obsessed!! I highly recommend!
Ładowanie -

-
Amber w dniu 3 mar 2024
5 na 5 gwiazdekTurned out great! Quality work, shipped very quickly, can’t wait to have it at our wedding!
Ładowanie


Informacje o sklepie Girlinair
-
-
 The Shipping Station
 -
 Daily Package Pick ups!
 -
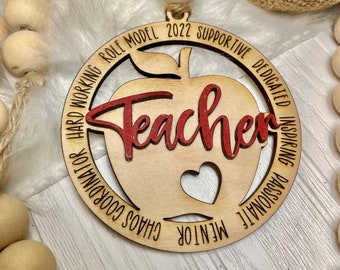
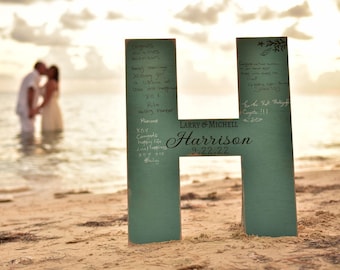
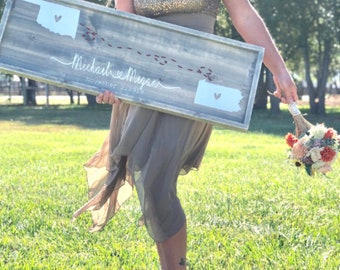
 All our signs are made with quality wood and put together with clamps, wood glue and staples so they are sturdy
 -
 Powers tools are essential to our business
 -
 The hands behind handmade
We love LOVE, all things rustic and handmade and love helping make a day special
Pracownicy sklepu
-

Michell
Właściciel, Autor, Projektant
Hi! I'm Michell a single mom to a sweet 13yr old boy! I love making custom home decor wedding signs & lots of other items. I have been selling on Etsy for over 10yrs & have grown my little hobby into a full time job that supports my family. Thanks
-

Rains
Asystent
Meet Rains....my 13 year assistant. When he's not reading his favorite book...he is helping his mommy make orders and learning how to run a small business and help support a one parent household
Partnerzy produkcyjni
-
A Print Shop
USA
Specialists print and sew pillow to help fill orders faster
-
A Print Shop
USA
Our partner helps us keep production times fast and products direct to you the customer.
Regulamin sklepu
Wysyłka
Opłaty celne i podatki importowe
Opcje płatności
Zwroty i wymiany produktów
Anulowania
Anulowania: zaakceptowane
Poproś o anulowanie w ciągu 24 godzin od zakupu
Więcej informacji
Często zadawane pytania
Wholesale availability
Yes we offer wholesale at a minimum order of 12 of the same item with a 10% - 30% off discount depending on item
Custom and personalized orders
Yes when time allows we except custom requests and can almost always replace quotes on listed signs at no additional charge. Color changes are also a free service
Where do I return my item?
Returned items are at the expense of the buyer.
If you need to return an item...please use the same packaging and return to address on invoice
Girl in Air
813 3rd Ave West
Dickinson, ND 58601
When item arrives in good condition, the purchased price will be refunded.
We do not refund shipping cost.
I don’t like my item
If you don’t like your item.....you will need to return it to receive a refund. We do not pay for returned shipping fees. Custom items are on a case by case basic for returns.
My item arrived damaged
Not to worry if your item arrived damaged. We insure all items shipped and we will handle the claim and issue a refund for product damage. Just send us a photo of package and product damage and we will take care of the issue.
This does not include natural wood imperfections.